If your kitchen feels outdated but a full remodel isn’t in the budget, there’s a powerful, cost‑effective solution: painting your cabinets. A fresh coat of paint can instantly modernize your space, brighten dark wood, and create a look that matches your style, all without the price tag of new cabinetry. In this detailed guide, learn how to paint your kitchen cabinets step by step like a pro and fall back in love with your kitchen.
Why Paint Your Kitchen Cabinets?
Cost‑effective makeover, save thousands compared to replacement
Customizable, choose colors and finishes to match your vision
Quick transformation, Most kitchens can be painted in a few days
Boosts home value, Fresh, stylish cabinets impress buyers and guests
Tools & Supplies You’ll Need
- Screwdriver or drill
- Painter’s tape
- Sandpaper (120‑220 grit) or a sanding sponge
- Degreaser or TSP cleaner
- High‑quality primer (stain‑blocking recommended)
- Cabinet paint (acrylic latex or alkyd)
- Paintbrushes and foam rollers
- Drop cloths and cleaning cloths
Step 1: Prep and Label Everything
Start by removing cabinet doors, drawers, and hardware (hinges, knobs, handles). Label each door and its matching location with painter’s tape so reinstalling is quick and accurate.
Lay doors and drawers flat on elevated surfaces to paint easily.
Step 2: Clean Thoroughly
Kitchen cabinets collect grease, food splatters, and fingerprints. Wash all surfaces with a degreaser or TSP solution, then rinse and let dry completely. Clean surfaces help paint stick better and prevent peeling.
Step 3: Sand Lightly
Use 120–220 grit sandpaper to scuff up the existing finish. This isn’t about removing all old paint or stain — just roughing up the surface so primer can grip.
After sanding, wipe away dust with a damp cloth or tack cloth.
Step 4: Prime for Durability
Primer helps block stains, prevents tannin bleed‑through from wood, and creates a solid base for color. Apply:
One coat of stain‑blocking primer on all surfaces
Let dry completely
Lightly sand again and clean the dust before painting
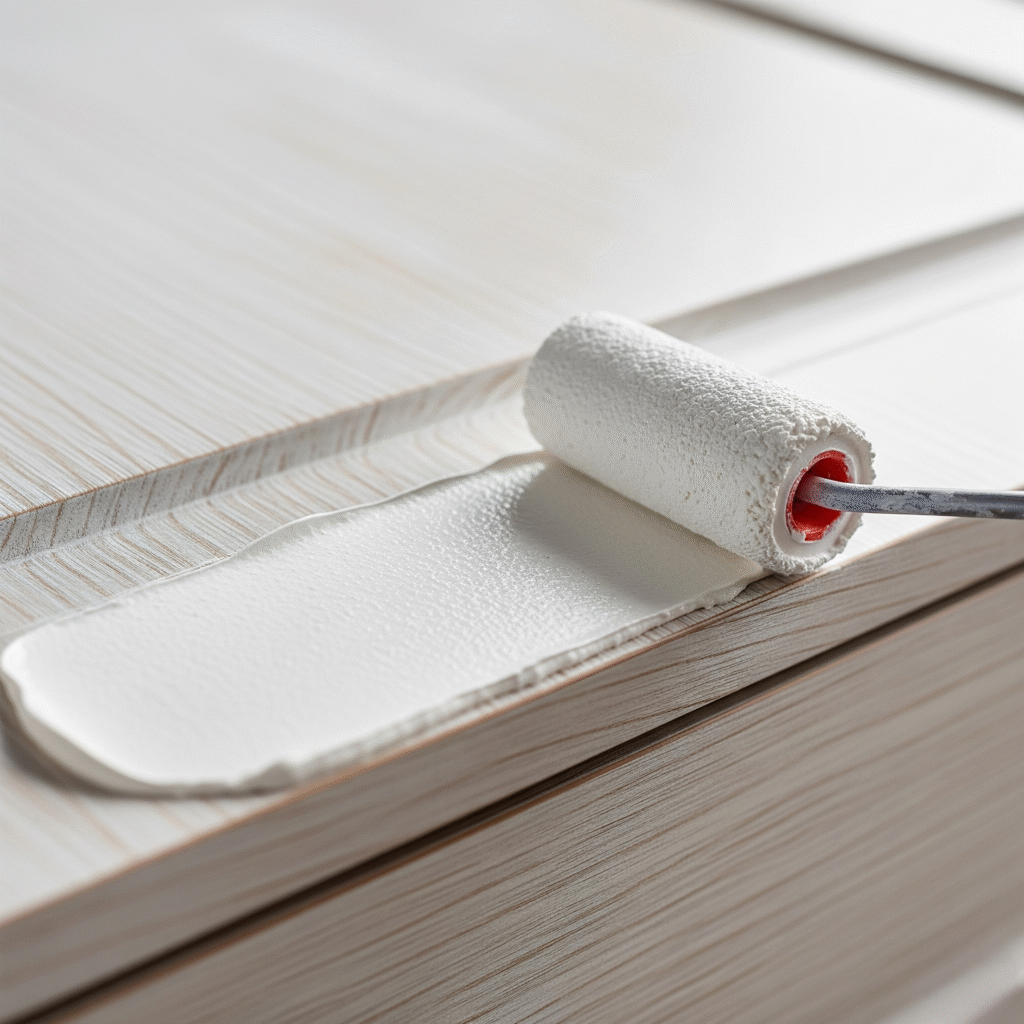
Step 5: Paint Like a Pro
Use a high‑quality acrylic latex paint (for low VOC) or an alkyd enamel for a smoother, harder finish.
Use a brush for corners and detailed edges
Roll flat areas with a foam roller for an even coat
Apply two light coats rather than one thick coat
Lightly sand between coats for a silky finish
Step 6: Let It Cure
While paint may feel dry to the touch in hours, full curing can take days:
- Wait 24–48 hours before light use
- Avoid scrubbing or reinstalling hardware too soon
- Wait 7–14 days for paint to reach full hardness
Proper curing ensures your cabinets resist chips and scratches.
Step 7: Reassemble and Enjoy
Once paint is fully cured:
Reinstall doors and drawers
Add back hardware or upgrade to new handles for extra style
Step back and admire your refreshed kitchen
Color and Finish Tips
White & off‑white brighten small kitchens and look timeless
Soft grays, navy, or sage green add modern personality
Matte & satin finishes are popular, but semi‑gloss is easier to clean
Consider a two‑tone look: darker lowers and lighter uppers for visual interest
Common Mistakes to Avoid
Skipping cleaning, paint won’t stick over grease
Not sanding between coats leaves texture and brush marks
Using wall paint, use paint made for cabinets or trim
Reinstalling too soon, uncured paint chips easily
When to Hire a Professional
While DIY saves money, hire a pro if:
- Cabinets are heavily damaged or warped
- You want a sprayed factory‑finish look
- You have limited time or space to work
Professionals utilize spray equipment and specialized products to achieve ultra-smooth, durable finishes.
Final Thoughts
Painting your kitchen cabinets can feel intimidating, but with patience and the right steps, it’s a rewarding DIY project. By properly preparing, priming, and selecting high-quality paint, you’ll transform your kitchen into a fresh, modern space that feels brand new, without the cost of a full renovation. Contact us today!